
Buying a Faber® Tone Lock bridge is a commitment to improving the tone of your guitar. Installation of the bridge is not too difficult and can be carried out even with minimal experience in working with guitars. NOTE: These instructions are using the Faber® NSWKIT™ conversion posts. If you installing BSWKIT™, iNsert™, or E-Sert™, follow the separate instructions for installation of those conversion posts before proceeding. If you are installing Faber® ESWKIT™, you may follow these instructions.
Before you start, you will need to remove all the strings. If you have recently changed strings, it might be worth waiting until you are ready to restring again. You need to completely remove the strings in order to change the tailpiece.
Step 1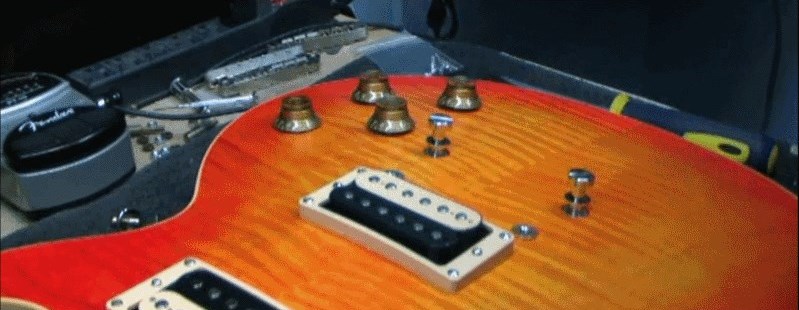
Once you have removed the strings, remove the existing bridge and tailpiece and the bridge mounting posts. If you will be replacing the bushings in the body, now is the time to change them.
Step 2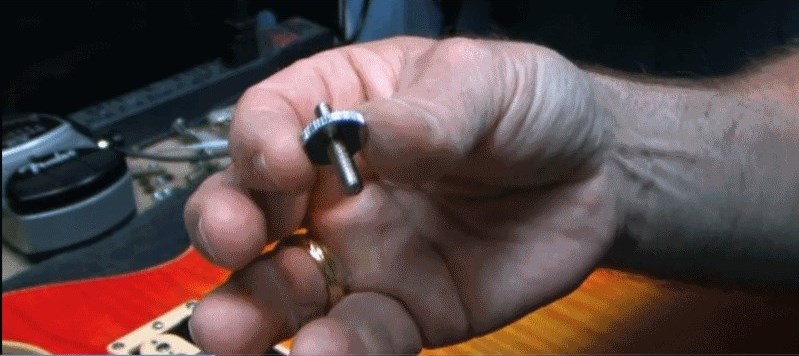
Take the Faber® conversion bridge posts and screw these into the bushings located on the body of the guitar. Don’t worry about how far you screw them into the guitar, for now, you can adjust this to suit your needs later in the process.
Step 3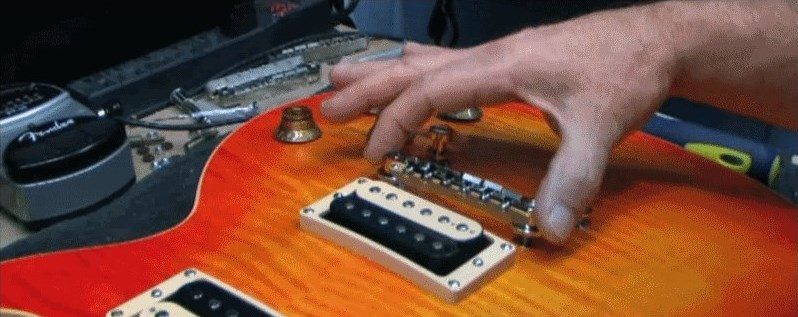
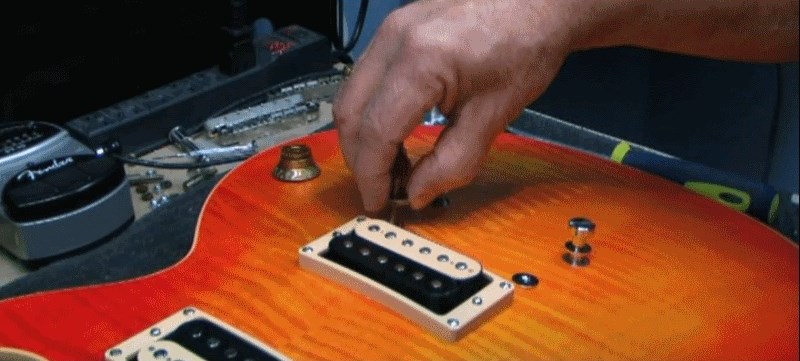
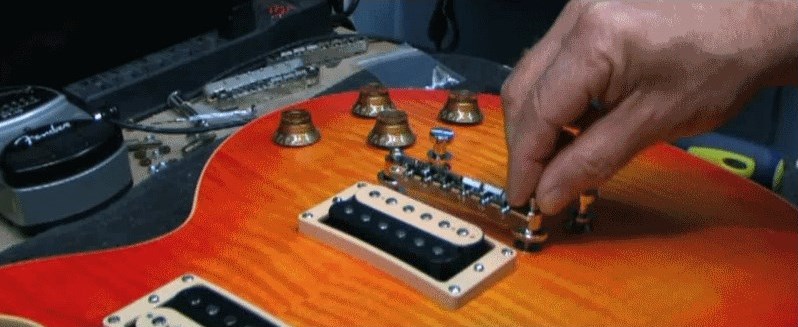
The Tone Lock bridge will sit on the newly installed bridge posts. When installing, the saddle adjustment screws should be placed facing the pickups. This will allow for easier saddle adjustment when the strings are at full tension. If you are using our ABRN Nashville style bridge, you should still orientate the bridge with the screws facing the pickups. Traditional Nashville bridges have the screws facing the tailpiece but our Tone-Lock™ and ABR-59 bridges are designed so the screws should be facing the pickups.
Step 4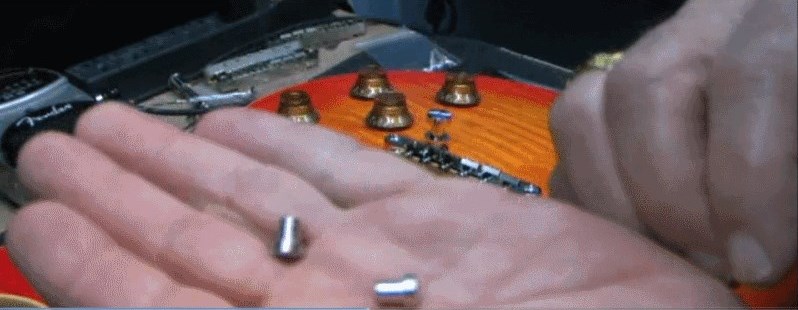
The newly installed bridge will be loose to the touch. You will have a pair of locking nuts. Place these into the holes on the bridge so they sit on the posts.

Screw these in by hand a few turns so they grip the post but don’t lock these down just yet.
Step 5
Using a flathead screwdriver, or the Faber® Tone-Lock installation tool, apply a few turns to the lock nuts to lock the bridge but keep it loose enough to move by hand. You should tighten the nuts so that you can still move the bridge easily, but you cannot lift it off the posts.
Step 6
Using the thumbscrews, set the bridge height to your approximate desired height. This can be adjusted later on to the exact height but it’s worth setting it to approximately the right height range at this stage as there is no tension on the bridge pushing down against the saddles. This will make the thumbscrews feel looser and easier to make a large range of adjustment at this stage.
Step 7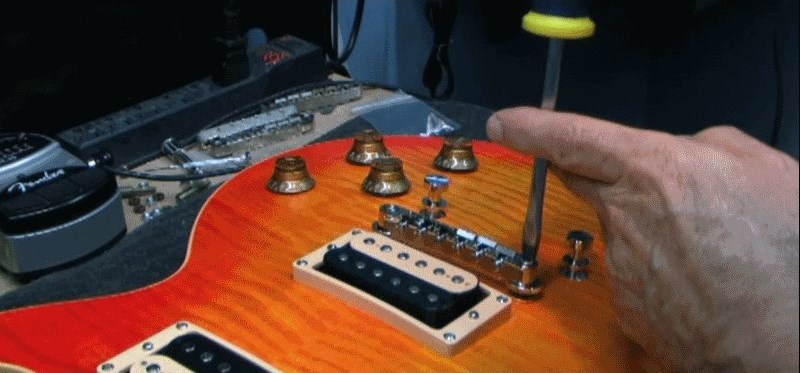
Using the screwdriver, lock down the bolts so the bridge now cannot be moved. The lock nuts will ensure maximum vibration transfer from the strings to the body. There will be no movement in the bridge or the posts. Any movement can dissipate string vibration and cause a loss of sustain and tone transfer.
Step 8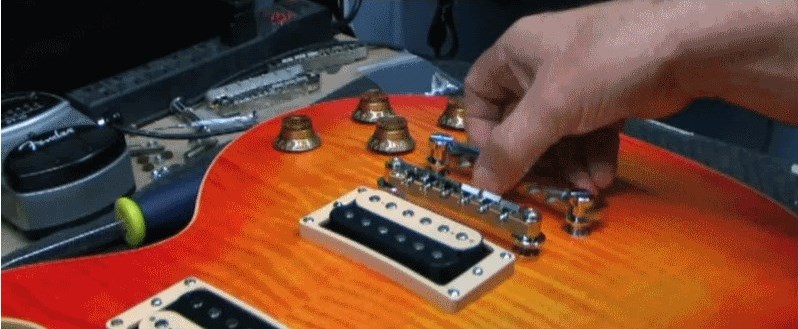
Fit the tailpiece to the tailpiece mounting studs. If you have purchased upgraded studs for the tailpiece, unscrew the existing ones from the body and screw the newly purchased ones in their place. The tailpiece will remain loose until the strings are back at full tension. For maximum benefit from the Tone Lock system, we’d also recommend using our purpose designed tailpiece screws and spacers. These will add more vibration transfer at the tailpiece end also which will further improve tone and sustain. Our tailpiece set comes with 3 sets of spaces which you can stack to set the tailpiece at your desired height without compromising any vibration to the body.
Step 9
Restring guitar with your strings of choice and turn up to your desired tuning.
Step 10
Set up the guitar to your specs. The bridge is now locked in place, but the action can still be adjusted with the thumbscrews. You can also check the intonation and make any required adjustments with the saddle adjustment screws located on the pickup facing side of the bridge.
Now the bridge has been installed, you should notice an instant increase in tone transfer and sustain from your guitar. These bridges are made from aluminum and promote vibration transfer in a more superior manner than the typical die-cast zinc alloy bridges that many guitars are factory shipped with.
For the most comprehensive Tone Lock experience, check out our Master Kit. This contains everything you need to lock down your bridge and tailpiece and our high-quality bridge and tailpiece replacements.